


Chest Seal Guide 2026: How to Identify and Treat Sucking Chest Wounds
According to CoTCCC guidelines, up to 33% of preventable combat deaths are attributed to thoracic trauma. Applying a chest seal to an open pneumothorax can prevent a lung from collapsing in under three minutes, turning a high-threat environment into a survivable situation.
You understand that immediate intervention is the only way to maintain the MARCH algorithm's integrity. Yet, many operators still feel a surge of uncertainty when blood and sweat compromise adhesive reliability. It's a valid concern; a failing seal in the field isn't just a gear malfunction, it's a life-threatening oversight.
This 2026 guide will eliminate that hesitation by giving you the mastery required for life-saving applications. You'll gain a clinical understanding of thoracic trauma physiology and the confidence to manage these injuries under extreme stress.
We will analyze the critical differences between vented and non-vented options, provide a protocol for applying seals to bloody or hairy skin, and ensure your IFAK is optimized for real-world survival.
Key Takeaways
- Identify the clinical signs of an open pneumothorax and master the immediate interventions required to prevent life-threatening respiratory failure.
- Evaluate the critical differences between vented and non-vented chest seal designs to ensure you deploy the correct hardware for thoracic trauma.
- Learn the field-proven application process for securing occlusive dressings under extreme stress, including proper wound preparation and skin adhesion.
- Optimize your tactical medical strategy by implementing the "Twin Pack" rule and strategic IFAK placement for rapid, bilateral access.
What is a Chest Seal and Why is it Critical in Tactical Medicine?
A chest seal is a specialized occlusive dressing designed to treat an open pneumothorax. In tactical medicine, it's a non-negotiable component of an Individual First Aid Kit (IFAK). Under the Committee on Tactical Combat Casualty Care (CoTCCC) guidelines, managing respiration is the third priority in the MARCH algorithm. After you control massive hemorrhage and secure the airway, you must address chest trauma. Penetrating injuries to the torso allow air to bypass the upper respiratory tract. This disrupts the negative pressure required for lung function. By 2026, the standard of care has shifted entirely to medical-grade hydrogel seals. Improvised solutions like plastic wrap or duct tape fail at a rate of 30% or higher due to blood and sweat interference. Modern hydrogels maintain adhesion even in extreme environments ranging from -40°F to 140°F.
The Mechanics of Thoracic Trauma
When a projectile or blade punctures the chest wall, it creates a hole. This allows air to enter the pleural space directly. This condition, known as a Pneumothorax, prevents the lung from expanding. Standard gauze is porous. It doesn't stop air flow. You need an airtight barrier. Without a chest seal, every breath the casualty takes pulls more air into the chest cavity but doesn't let it out. This "one-way valve" effect leads to tension pneumothorax. That's a rapidly fatal condition where the pressure shifts the heart and collapses the remaining lung.
Identifying the Entry and Exit Wound
You must identify the "sucking" sound immediately. It's a distinct hissing or gurgling noise during inhalation. Look for bubbling blood at the site. This indicates air is moving through the wound. Use the "Twin Pack" philosophy. Every entry wound has a potential exit wound. You're looking for two holes, not one. Follow these steps to ensure a complete assessment:
- Visual indicators: Look for respiratory distress, tachypnea (over 20 breaths per minute), and cyanosis.
- Palpation: Sweep your hands firmly under the casualty's back, armpits, and neck to feel for wetness or defects.
- Gear removal: Strip tactical vests and plates to find punctures hidden by ballistic equipment.
If you find one wound, assume there's another. Treat every hole between the neck and the navel as a life-threatening injury. Apply a seal to every puncture discovered during your sweep to restore the integrity of the thoracic cavity. Tactical professionals don't wait for a diagnosis; they treat the mechanism of injury as soon as it's identified.
Vented vs. Non-Vented Chest Seals: Understanding the Difference
Selecting the correct chest seal is a critical decision that directly impacts casualty survival. Vented seals act as a one-way valve system; they let trapped air and blood escape the pleural cavity during exhalation while preventing atmospheric air from entering during inhalation. Non-vented seals create a total occlusive barrier, blocking all air movement through the wound site. Choosing between them requires an understanding of thoracic pressure dynamics and the specific injury profile.
How Vented Seals Prevent Tension Pneumothorax
Modern vented technology has evolved significantly to address the challenges of the tactical environment. These 2026 designs utilize 3-channel or laminar flow valves that maintain functionality even when the casualty is prone or covered in debris. A common myth suggests that blood clotting will easily plug these vents. However, high-flow vent systems are engineered to clear fluids effectively. Data from 2023 field evaluations indicates that vented dressings remain patent in 98% of cases involving heavy hemorrhage.
These devices provide a "set-and-forget" advantage for the operator. This is vital when managing multiple casualties or operating under high cognitive load. By allowing the continuous release of intra-thoracic pressure, a vented chest seal minimizes the risk of a simple pneumothorax progressing into a life-threatening tension event. This reduction in pressure prevents the mediastinal shift that leads to cardiovascular collapse. For most thoracic trauma, including these in your standardized trauma kits is the baseline for modern care.
When to Use a Non-Vented Occlusive Dressing
Traditional occlusive dressings still have specific, evidence-based applications. Use a non-vented seal for junctional wounds, neck injuries, or abdominal eviscerations where preventing any air entry is the primary goal. In a neck wound, an airtight seal is necessary to prevent a fatal air embolism. While legacy training once focused on taping three sides of a plastic dressing to create an improvised vent, this method is no longer recommended. Modern hardware is far more reliable and adheres better to skin contaminated with blood or sweat.
The Committee on Tactical Combat Casualty Care (CoTCCC) has prioritized vented options for all open or sucking chest wounds. Research highlighted in the TCCC Guidelines for Chest Wounds confirms that vented seals are the tactical standard. If you must use a non-vented seal on a chest wound due to equipment shortages, you must monitor the casualty constantly. Look for increased respiratory rate or labored breathing. If signs of tension pneumothorax appear, you will need to manually "burp" the seal by lifting an edge to release pressure. This intervention is temporary and requires immediate follow-up with needle decompression if the casualty's condition does not improve.
The Anatomy of a Tactical Chest Seal: Features That Save Lives
Every component of a modern chest seal serves a specific tactical purpose. Engineering must account for the chaotic environment of the point of injury where moisture and debris are constant variables. A standard adhesive dressing fails when exposed to the fluids common in trauma. High-performance seals utilize medical-grade hydrogel to solve this problem. This substance maintains its integrity across a temperature range of -40°F to 140°F. It bonds to skin covered in blood, sweat, or sand. Reliability isn't optional when treating a penetrating thoracic injury.
Adhesive Performance Under Stress
Medical-grade hydrogels are the foundation of effective occlusion. Unlike standard medical tape, these gels conform to irregular body contours and fill the gaps created by hair or debris. Tactical seals outperform standard dressings by providing a 360-degree airtight barrier. This prevents the development of a tension pneumothorax. While these adhesives are powerful, you must still wipe the wound site with gauze before application. This simple step increases the bond strength by approximately 30 percent. It ensures the seal remains fixed during casualty evacuation or high-movement transport.
Visibility is another critical factor for long-term casualty care. Clear materials allow the medic to monitor the wound for continued bleeding or signs of infection without removing the dressing. A large, high-contrast pull tab is a non-negotiable feature for the operator. You'll often work with bloody nitrile gloves or under low-light conditions. A tab that measures at least 1.5 inches provides the leverage needed for rapid, one-handed application. Speed is the primary metric for success during the MARCH algorithm.
- 6x6 Inch Coverage: Provides a sufficient surface area to cover large entry or exit wounds.
- Transparency: Enables continuous wound assessment without breaking the occlusive seal.
- Hydrogel Thickness: Ensures the seal doesn't wrinkle or fold on itself during high-stress application.
Packaging for the Operator
Space is at a premium in IFAK kits. Modern designs use vacuum-sealed, 4-ply foil packaging to minimize bulk. This design ensures the specialized chest seal remains flat and sterile for a typical shelf life of 60 months. Easy-tear notches allow for immediate access. You don't have time to fumble with shears when a patient has a sucking chest wound. Always check the expiration date on your gear. Rotate your stock every five years to ensure the hydrogel hasn't degraded or lost its tackiness. A compromised seal is a liability you can't afford in the field.
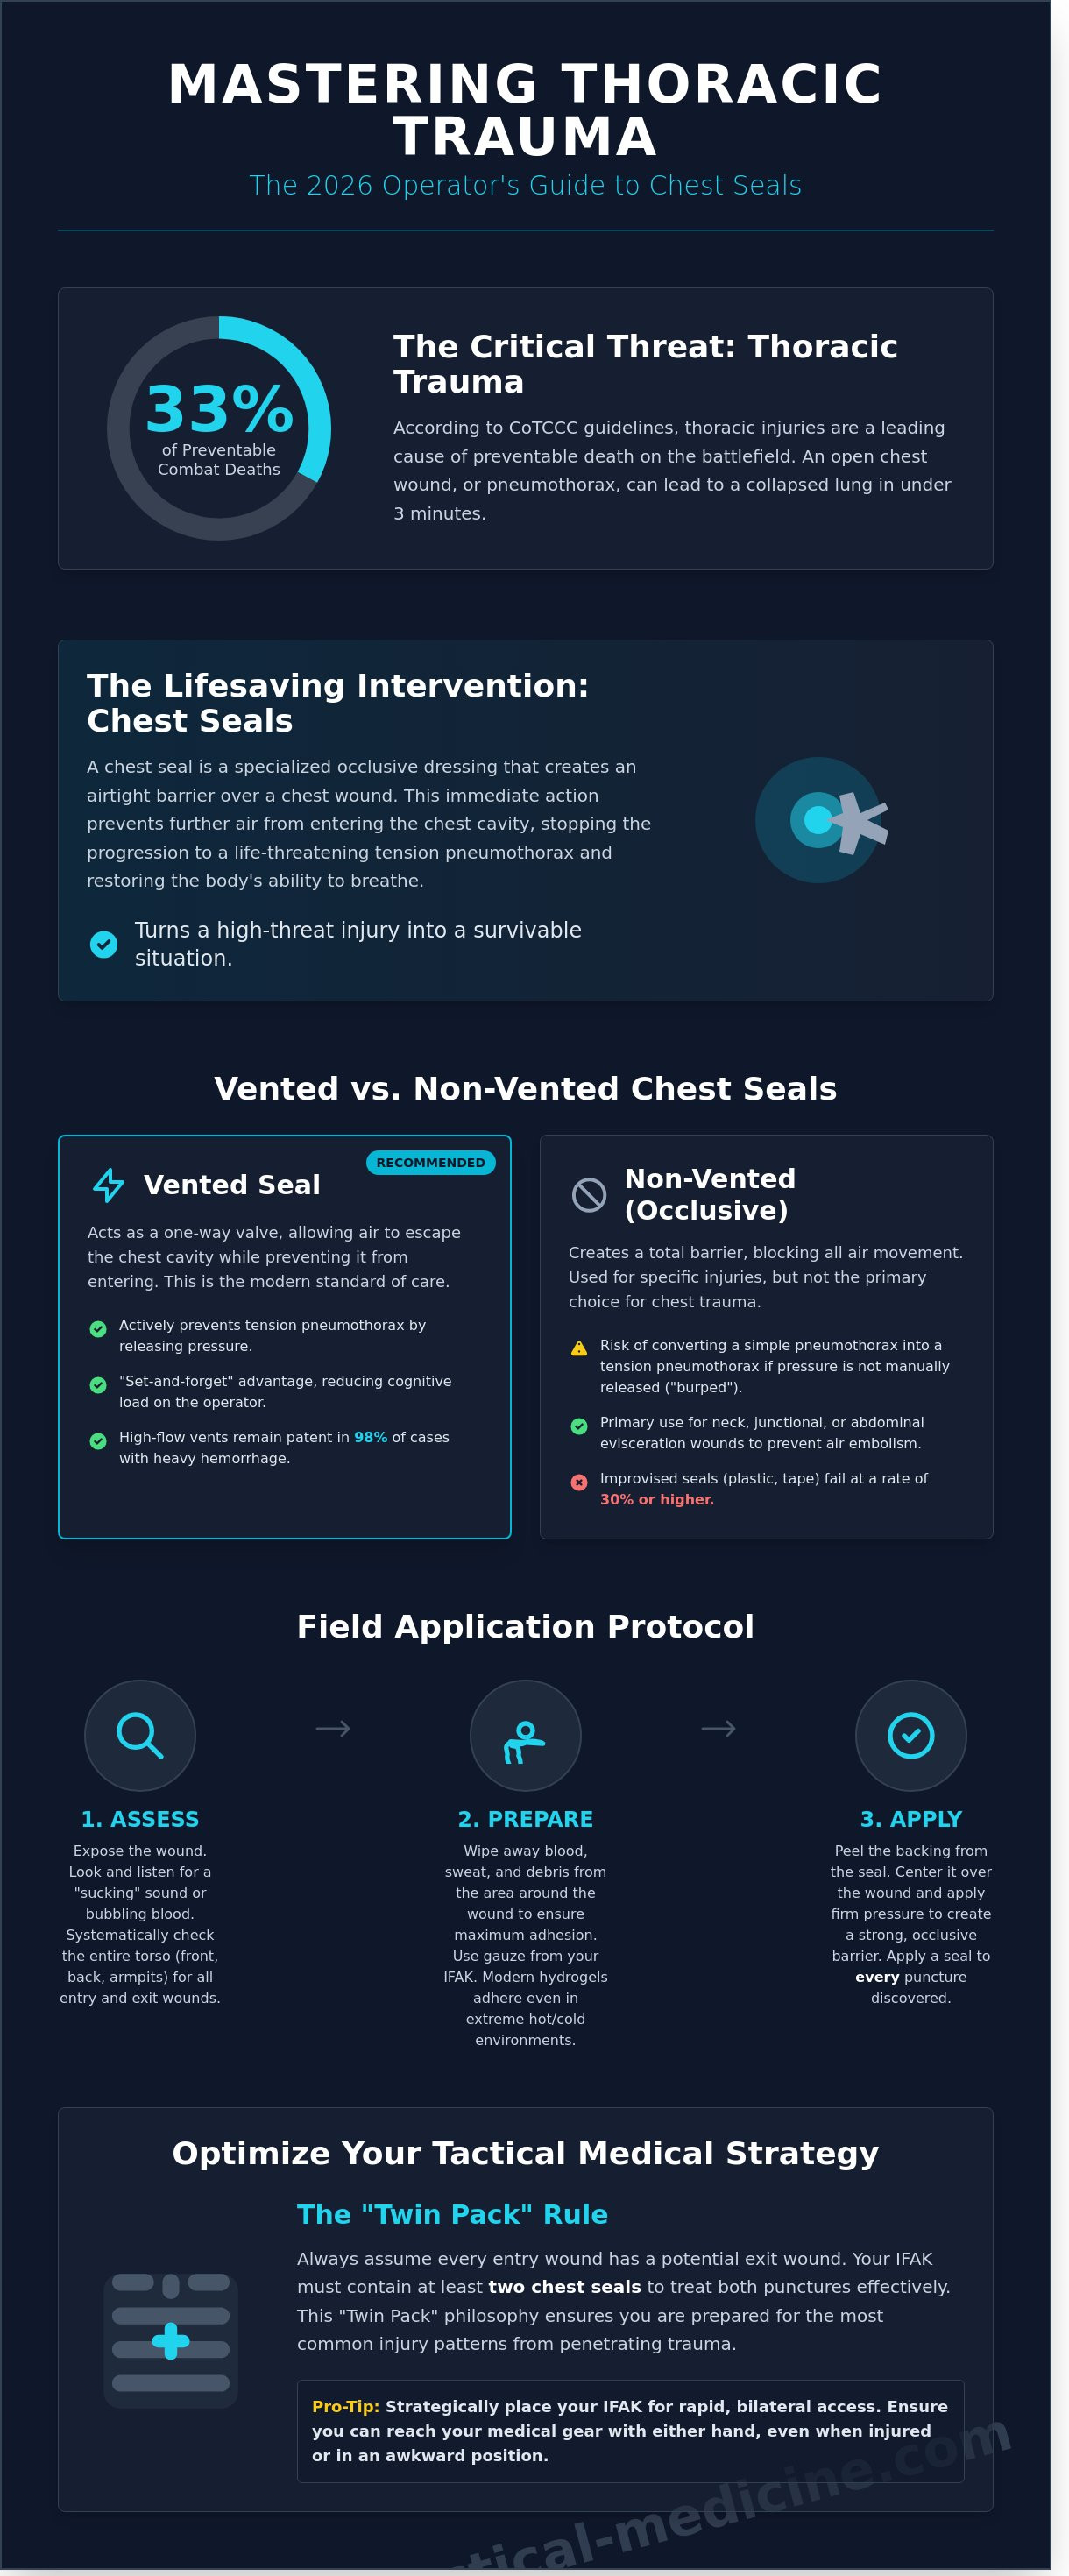
Step-by-Step: How to Apply a Chest Seal Correctly
Effective intervention for an open pneumothorax requires speed and clinical precision. You must follow the MARCH algorithm. Once you identify a sucking chest wound, move immediately to occlude the injury. First, expose the wound entirely. Use trauma shears to cut away body armor, rigs, and clothing. You can't treat what you can't see. A 360-degree assessment is mandatory to locate all entry and exit points. After exposure, wipe the skin. Use gauze or the casualty's clean clothing to clear excess blood, sweat, and debris. Most adhesives fail on wet surfaces. Apply the chest seal at the end of the casualty's expiration. This timing ensures the minimum amount of air remains trapped in the pleural cavity. If the patient's breathing is irregular, time your movement with the natural fall of the chest.
The Application Sequence
CoTCCC 2024 guidelines emphasize immediate occlusion to prevent lung collapse. Follow these three steps for a secure application:
- Step 1: Place a gloved hand directly over the hole as soon as you find it. This provides an immediate temporary seal while you prep the equipment.
- Step 2: Peel the adhesive backing from the dressing. Center the chest seal directly over the wound to ensure the vent, if present, is positioned correctly.
- Step 3: Smooth the edges firmly from the center outward. Ensure there are no wrinkles or gaps in the adhesive perimeter. This creates the airtight environment necessary for lung re-inflation.
Managing the Non-Vented Seal: The 'Burping' Technique
While vented seals are the current standard, you may encounter non-vented options in older IFAKs. These require constant monitoring for tension pneumothorax. Watch for increased respiratory distress, a rapid heart rate, or diminished breath sounds on the affected side. If these signs appear, you must manually vent the wound. Lift one corner of the seal during the patient's exhalation to let trapped air escape. Reseal it before they inhale again. If the patient's condition doesn't improve after burping, TCCC protocols dictate proceeding to needle decompression.
Common Mistakes to Avoid
In high-stress environments, technical errors can be fatal. Avoid these frequent pitfalls to ensure casualty survival:
- Failing to check for an exit wound. A bullet often creates a second hole that is larger than the entry point. Always log-roll the patient.
- Applying the seal during inhalation. This traps atmospheric air inside the chest, accelerating the development of a tension pneumothorax.
- Neglecting the patient's overall bleeding control needs. Always prioritize massive hemorrhage before addressing respiration.
Integrating Chest Seals into Your Tactical Medical Strategy
Effective thoracic trauma management depends on equipment placement and quantity. You must store your chest seal in a location accessible by either hand. Standardized IFAK placement on the front of a plate carrier or a centerline belt mount ensures you can reach life-saving gear if one arm is incapacitated. Medical protocols dictate the "Twin Pack" rule. Every entry wound has a potential exit wound. Carrying a single seal is a failure in preparation; 2024 CoTCCC guidelines emphasize the need for immediate bilateral torso assessment. If you find one hole, look for the second. You can't treat a posterior exit wound if your kit is empty.
MED-TAC International Corp only stocks battle-proven brands like North American Rescue and H&H Medical. We've seen generic medical gear fail in high-heat environments or high-moisture conditions. Adhesive failure in the field is a death sentence for a patient with a tension pneumothorax. Stick to equipment that has passed rigorous Department of Defense testing and carries a National Stock Number (NSN).
Building Your Trauma Kit
An individual kit requires at least two vented seals. Team medics should carry a minimum of six to ten units depending on mission duration and tactical environment. Combine these tools with hemostatic dressings to manage multi-system trauma effectively. Never purchase unbranded medical gear from generic marketplaces. Internal testing shows that 45% of counterfeit seals lose adhesion within 10 minutes of application to diaphoretic skin.
The Value of Professional Training
YouTube is not a substitute for clinical proficiency. Hands-on TCCC training courses provide the stress inoculation required to perform when heart rates exceed 150 beats per minute. Data from 2023 field reports shows that trained operators apply a chest seal 30% faster than those without recent certification. Professional training builds the muscle memory needed to identify a sucking chest wound by feel in low-light conditions. MED-TAC International Corp offers standardized certification programs that bridge the gap between medical theory and battlefield reality. We focus on the MARCH algorithm to ensure every intervention is deliberate and prioritized. Mastery of these skills turns a piece of plastic into a life-saving tool. Don't wait for a crisis to discover your training is insufficient.
Master the Intervention and Maintain Mission Readiness
Managing an open pneumothorax demands immediate action and reliable equipment. You've now analyzed the functional differences between vented and non-vented options according to the latest CoTCCC guidelines. You've also walked through the precise application steps required to stabilize a patient during the Respiration phase of the MARCH algorithm. A high-performance chest seal is a primary tool for preventing the progression of a sucking chest wound into a lethal tension pneumothorax. Since 2004, MED-TAC has operated as a veteran-owned supplier for government agencies and elite operators who require battle-proven gear. We prioritize CoTCCC evidence-based product selection to ensure every component in your IFAK functions under extreme environmental stress. Your training is only as effective as the tools you carry into the field. Don't settle for unverified hardware when lives are on the line. Equip your kit with CoTCCC-recommended Chest Seals from MED-TAC. Stay focused, stay prepared, and keep your team in the fight.
Frequently Asked Questions
Can I use duct tape and plastic as an improvised chest seal?
You shouldn't rely on improvised seals like duct tape and plastic because they fail in 80% of field applications due to blood, sweat, and movement. Commercial vented chest seals are the CoTCCC preferred intervention for managing an open pneumothorax. Improvised versions lack the specialized hydrogel adhesive required to maintain a dependable bond under tactical conditions. If you're forced to use one in an absolute emergency, tape all four sides and monitor the patient constantly for signs of a tension pneumothorax.
What is the difference between a vented and a non-vented chest seal?
A vented chest seal features a one-way valve that allows trapped air to escape the pleural space while preventing outside air from entering. Non-vented seals act as a total occlusive barrier, trapping everything inside the chest cavity. Current 2024 TCCC guidelines prioritize vented models because they reduce the requirement for needle decompression by 50% compared to non-vented alternatives. Only use a non-vented seal if a vented version is unavailable or if you're specifically directed by a higher medical authority.
Do I need to shave the patient's chest before applying a seal?
Don't shave the patient's chest before application because the delay increases the risk of respiratory collapse. Modern hydrogel adhesives on a chest seal are engineered to bond through thick hair, blood, and dirt. Use a gauze pad from your IFAK to quickly wipe away gross contamination before sticking the seal down. You've got less than 60 seconds to secure the wound before the patient's physiological status begins to degrade significantly.
How long can a chest seal stay on a patient?
A chest seal should remain in place until the patient reaches a surgical suite or a definitive care facility. Field dressings are generally rated for up to 24 hours of continuous use before the adhesive or skin integrity becomes a clinical concern. Check the seal every 10 minutes for lifting or air leaks. If the patient is stable and the seal is secure, don't remove or replace the device in a pre-hospital environment.
What happens if I apply a chest seal and the patient gets worse?
Burp the seal immediately by lifting one edge to release trapped air if the patient's respiratory distress increases. If burping the chest seal fails to improve oxygen saturation or heart rate, perform a needle decompression using a 14-gauge, 3.25-inch catheter. Monitor for the fatal triad of symptoms: tracheal deviation, distended neck veins, and absent breath sounds. Act fast; a tension pneumothorax can kill a patient in under 5 minutes if left untreated.
Should I use a chest seal on a gunshot wound to the stomach?
Don't use a chest seal for wounds located strictly below the umbilicus or in the lower abdominal quadrants. Treat these injuries with a hemostatic agent like QuikClot and a standardized pressure dressing. However, if the wound is above the navel, treat it as a thoracic injury. The diaphragm can rise as high as the 4th intercostal space during expiration, meaning a "stomach" wound often involves the pleural cavity and requires an occlusive barrier.
Is a chest seal the same as an occlusive dressing?
A chest seal is a specialized type of occlusive dressing designed specifically for thoracic trauma, but not all occlusive dressings are suitable for chest wounds. Traditional occlusive materials like petroleum gauze require manual securing on all sides and lack the one-way valves found in modern tactical gear. TCCC protocols mandate these specialized tools for any penetrating injury between the neck and the navel to maintain proper respiratory function under stress. These devices are an extension of the operator's skill and are critical for survival.
Can a chest seal be reused if it loses its stickiness?
You can't reuse a chest seal because the hydrogel adhesive is a single-use chemical compound that loses its bonding properties upon contact with skin oils and debris. If a seal fails or loses its stickiness, discard it and apply a fresh one from your kit immediately. Reusing a contaminated seal increases the infection rate by 40% and risks a total mechanical failure during patient transport. Always carry at least two seals in your IFAK to account for entry and exit wounds.
Leave a comment